Pattern Matrix
Read the fight before committing
Use this as a quick navigation board: scan each fight or build decision, then jump to the full breakdown and source frames below.
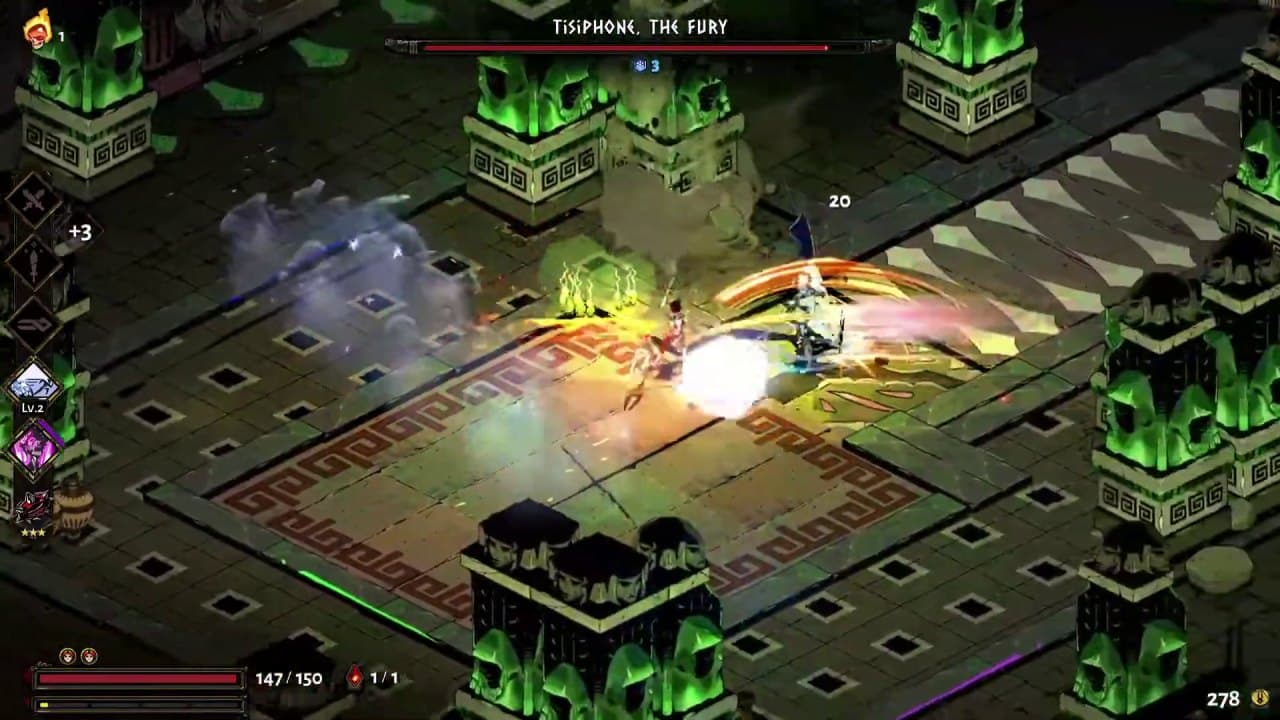
Fight identity
Tisiphone is a patience test disguised as chaos. Her room pressure makes long combos unsafe and punishes players who spend every dash immediately. The safest route is to play near an exit lane, use brief damage windows, and reset before the arena closes around you.
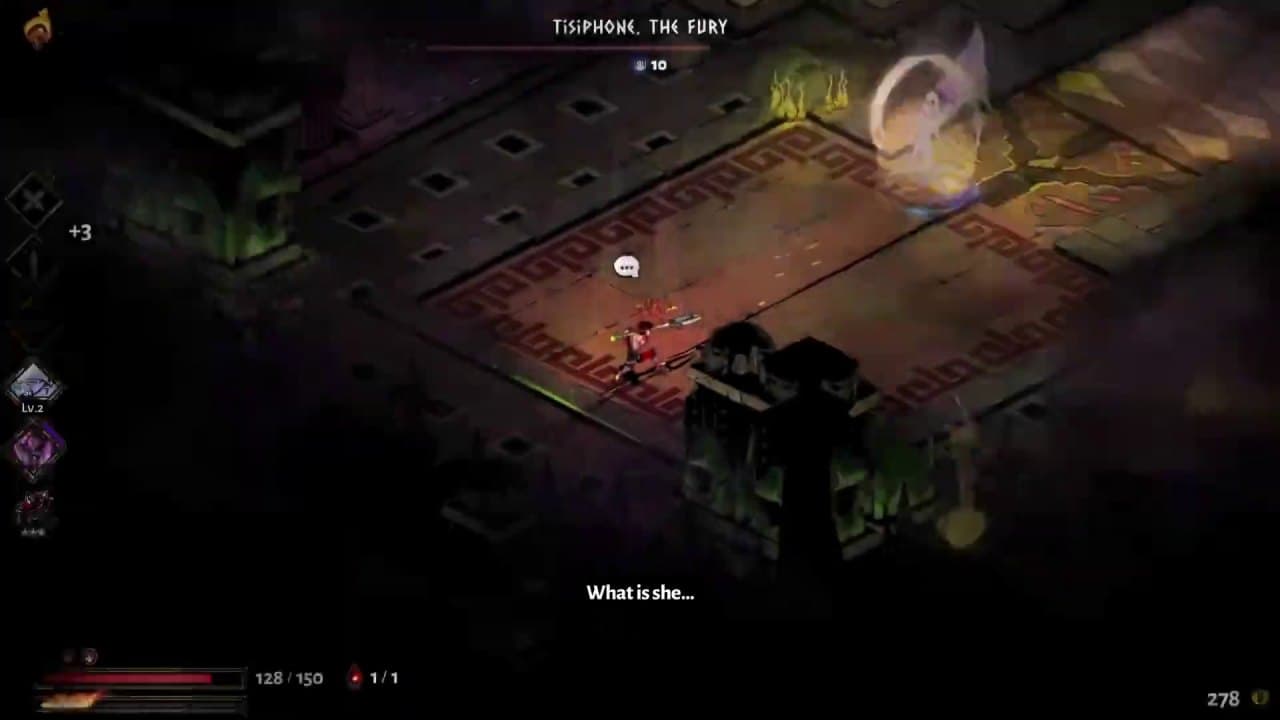
Movement rule
Do not dash because you are scared. Dash because you have selected the next safe tile. This distinction matters more against Tisiphone than against the other Furies.
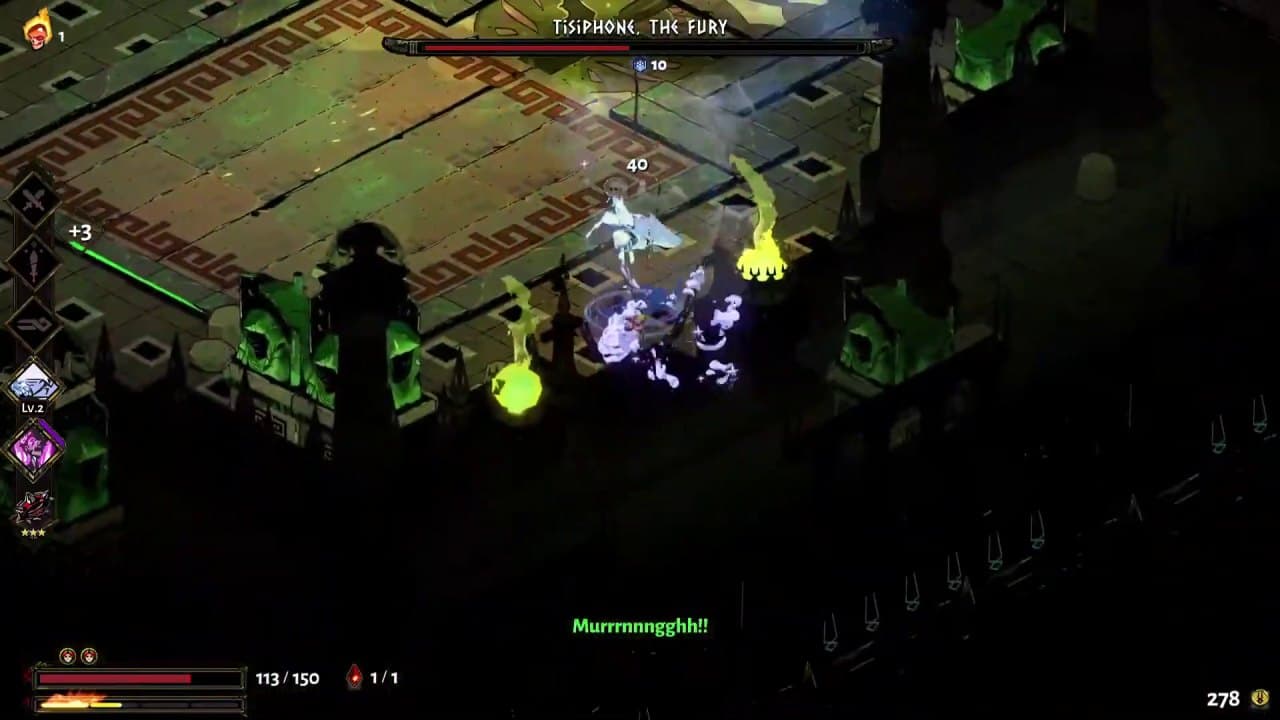
How to use this page in a run
Use this page as a quick decision aid before the next chamber or boss attempt. First identify the immediate problem, then pick the recommendation that solves that problem with the least extra execution. If the page is about a weapon or resource, treat it as a route choice rather than a trivia entry: the goal is a more stable run, not just knowing the item exists.
Quick Verdict
Make smaller decisions. Use short attacks, hold one dash for escape, and do not cross the room unless a clear lane exists.
The shrinking feel of the fight makes over-dashing worse than under-attacking.
Projectiles and dash lines are readable if you stop trying to force melee uptime.
Ranged damage and Casts are excellent because they preserve movement space.
Pre-Run Checklist
How to test Tisiphone in the next run
As the room feels tighter, shorter attacks become safer than full strings.
Read
Name the danger before entering Tisiphone
Tisiphone is a patience test disguised as chaos. Her room pressure makes long combos unsafe and punishes players who spend every dash immediately. The safest route is to play near an exit lane, use brief damage windows, and reset before the arena closes around you.
Check
The shrinking feel of the fight makes over-dashing worse than under-attacking.
Equip
Check whether the run has safety and a punish window
Bow, Spear, Shield, Athena Dash, and Cast damage help keep space when the room tightens.
Check
Next read: The Furies
Avoid
Remove one habit that repeats across failed attempts
Crossing the room without a lane because the boss looks close to death.
Check
Next read: Megaera
Player Intent Router
Choose the section that matches your current wall
High-retention guide pages do not force every player to read linearly. They help the player name the problem, act on it, then continue into the next useful page.
01 · Pattern read
You are dying to a specific Tisiphone phase
Treat this as a pattern page first. Use the screenshots, phase notes, and tells to name the exact moment where health starts disappearing.
Page action
Projectiles and dash lines are readable if you stop trying to force melee uptime.
02 · Setup check
You reach the boss, but damage or safety is missing
Use Tisiphone as a setup audit: do you need a safety keepsake, a clearer core boon, or a weapon rhythm that fits this fight?
Page action
Bow, Spear, Shield, Athena Dash, and Cast damage help keep space when the room tightens.
03 · Review loop
You keep getting close but fail late
Close attempts usually mean the route is nearly right and one expensive habit is repeating. Fix the habit before replacing the whole build.
Page action
Crossing the room without a lane because the boss looks close to death.
Boss Pattern Lab
Break each attack cycle into four reads
Start with the phase goal, then read the tell, safe response, and punish window. A boss guide should tell the player exactly what to practice next run.
Cycle 1
Compressed arena discipline
Tell
Tisiphone reduces available space and repeats pressure until panic dashes become the real danger.
Safe response
Keep movement small. Dash only to leave a pattern, then immediately re-center instead of circling blindly.
Punish window
Use compact burst after the pressure line passes. Long strings usually drag you into the next lane check.
Boss Phase Drill
Turn the failure point into the next run drill
Do not practice the whole boss at once. Isolate one phase, survive the cycle, then add damage only after the read is stable.
Drill 1
Compressed arena discipline
Practice goal
Survive one full compressed arena discipline cycle before dealing damage. Once the read feels automatic, add only one extra attack before resetting.
Common mistake
Crossing the room without a lane because the boss looks close to death.
Reset cue
Keep movement small. Dash only to leave a pattern, then immediately re-center instead of circling blindly.
Clean punish
Use compact burst after the pressure line passes. Long strings usually drag you into the next lane check.
Boss Fight Timeline
Read Tisiphone in fight order
A boss page should not only name attacks. This timeline turns the fight into opening read, pressure turn, punish window, and review signal so the next run has an order to practice.
Step 01
Opening read
Watch for
Tisiphone reduces available space and repeats pressure until panic dashes become the real danger.
Move rule
Keep movement small. Dash only to leave a pattern, then immediately re-center instead of circling blindly.
Review signal
Spend the first cycle learning spacing. A clean read is worth more than early chip damage.
Step 02
Pressure turn
Watch for
Tisiphone reduces available space and repeats pressure until panic dashes become the real danger.
Move rule
Keep movement small. Dash only to leave a pattern, then immediately re-center instead of circling blindly.
Review signal
Crossing the room without a lane because the boss looks close to death.
Step 03
Punish window
Watch for
Use compact burst after the pressure line passes. Long strings usually drag you into the next lane check.
Move rule
Use compact burst after the pressure line passes. Long strings usually drag you into the next lane check.
Review signal
Leave before the next pattern starts. Most boss walls come from staying one attack too long.
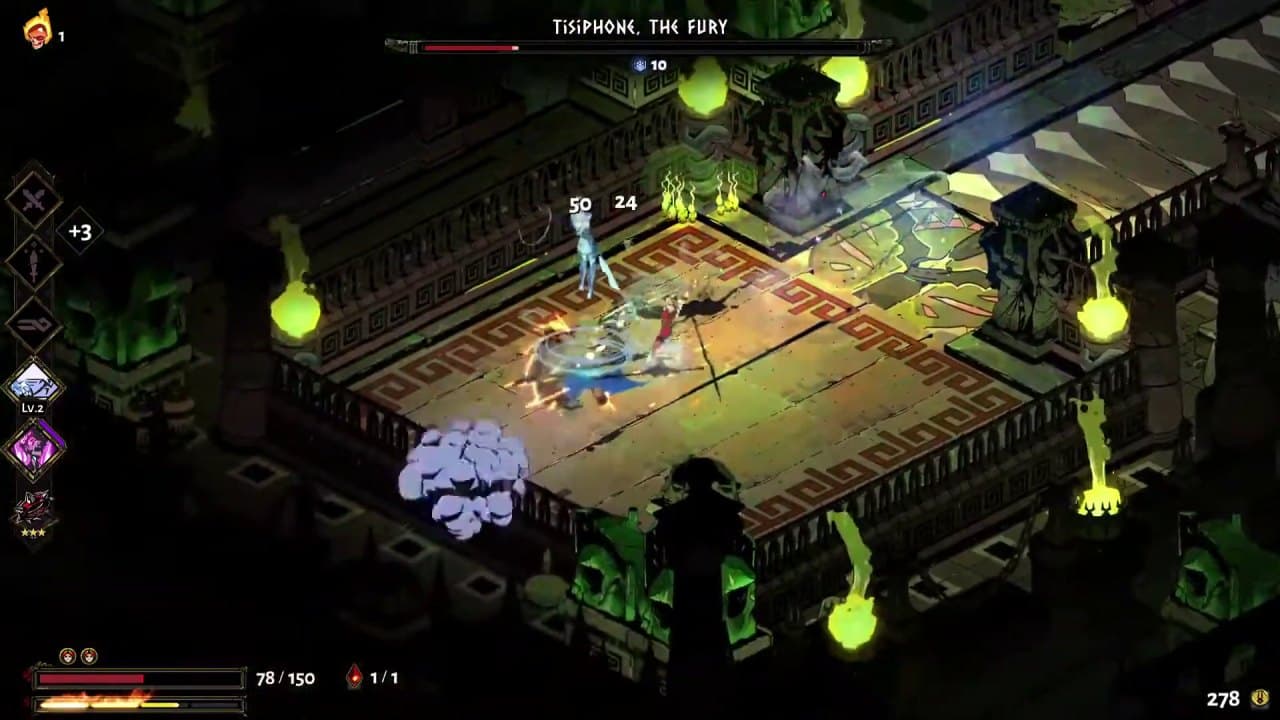
Step 04
Review signal
Watch for
Keep movement small. Dash only to leave a pattern, then immediately re-center instead of circling blindly.
Move rule
The shrinking feel of the fight makes over-dashing worse than under-attacking.
Review signal
Crossing the room without a lane because the boss looks close to death.
Field Guide
How to use this page
Tisiphone should not be treated as a trivia entry. Use it as a route decision before the next run: identify the current wall, then choose the lowest-execution answer that solves that wall.
If the problem is survival, prioritize safer spacing, keepsakes, Mirror choices, or weapon rhythm. If the problem is damage, identify which button carries the build. If the problem is resources, spend on upgrades that improve several future runs instead of only the current attempt.
Screenshots and video references are support material: they help you read tells, spacing, reward locations, or build direction. The written conclusions are the part to carry into the run.
Before entry
Use this Boss page to name the real job first: survival, damage, resources, or route clarity. A specific job keeps the run from being pulled off course by rarity, flashy clips, or tempting side rewards.
During the fight
Compress the advice into one action rule: wait for the tell, preserve spacing, clear adds first, take the core boon, or leave before greed damage begins. Good guidance should survive a messy screen.
After failure
Do not only ask whether the damage was high enough. Ask where health started disappearing, which reward did not serve the route, and whether the next run needs a different keepsake, Mirror setup, aspect, or starting god.
After reading Tisiphone, do not jump straight to an unrelated entry. Test the advice in one run by changing a single variable: starting keepsake, primary damage button, boss phase plan, resource spending order, or the positioning shown in the reference frames. That makes the next review cleaner because you can tell which change actually improved the route.
If you only remember one rule: Tisiphone is useful because it reduces hesitation in the next run. Anything that helps you decide when to attack, retreat, reroute, or preserve resources is what actually improves clear consistency.
A database page works best when it turns small decisions into a stable route. Read this page, follow the related entries, then test the idea in one escape attempt so the guide becomes practice rather than trivia.
Takeaways
- 01
The shrinking feel of the fight makes over-dashing worse than under-attacking.
- 02
Projectiles and dash lines are readable if you stop trying to force melee uptime.
- 03
Ranged damage and Casts are excellent because they preserve movement space.
Strategy Path
What to read next
Do not leave Tisiphone as an isolated note. Follow the route below to turn one useful answer into a complete escape plan.
01 · Solve the wall
The Furies
After Tisiphone, use The Furies to check the next decision layer: Treat the fight as a spacing test. Let each Fury commit first, dash sideways instead of through repeated hazards, and spend Cast or ranged attacks while the arena is noisy.
02 · Solve the wall
Megaera
After Tisiphone, use Megaera to check the next decision layer: Dash across the whip line, wait out the lunge, then punish. Do not stand still during add waves; move in a wide circle and use Cast to keep damage flowing.
03 · Solve the wall
Alecto
After Tisiphone, use Alecto to check the next decision layer: Do not fight Alecto inside rage pressure. Let the hazard resolve, move through the open lane, then punish her recovery with short damage bursts.
04 · Build the route
Hades Beginner Guide: First Clear Route
After Tisiphone, use Hades Beginner Guide: First Clear Route to check the next decision layer: First clears are usually won by survival economy, not perfect damage. Spend Darkness on extra lives and dashes, unlock defensive keepsakes, choose one or two build goals, and treat every boss as a lesson in leaving early.
Change one variable at a time along this path: setup first, boon route second, boss phase handling last. That makes it easier to tell which adjustment actually improved consistency.
Run Study Board
Turn the guide into one playable review loop
This page compresses 2 source references and gameplay frames into three steps: watch, apply, and review.
01 · WatchRead the danger in the frame first
Tisiphone is a patience test disguised as chaos. Her room pressure makes long combos unsafe and punishes players who spend every dash immediately. The safest route is to play near an exit lane, use brief damage windows, and reset before the arena closes around you.
Frame action
Begin by mapping escape lanes, not by chasing immediate melee damage.
02 · ApplyTurn the advice into one next-run change
Bow, Spear, Shield, Athena Dash, and Cast damage help keep space when the room tightens.
Frame action
The shrinking feel of the fight makes over-dashing worse than under-attacking.
03 · ReviewReview the most expensive repeated mistake
Crossing the room without a lane because the boss looks close to death.
Frame action
Move across attack lanes and keep one dash available for the next pattern.
Tactical Drill Table
Convert Tisiphone into four playable checks
This is not an encyclopedia summary. It is a next-run drill card: what to look for, what to do, what to avoid, and which page should fill the next gap.
01 · Observe
Read the main danger in Tisiphone
If you see
Tisiphone is a patience test disguised as chaos. Her room pressure makes long combos unsafe and punishes players who spend every dash immediately. The safest route is to play near an exit lane, use brief damage windows, and reset before the arena closes around you.
Do this
The shrinking feel of the fight makes over-dashing worse than under-attacking.
Do not
Do not open with stationary greed damage; spend one pattern cycle confirming the safe window.
Next: The Furies02 · Commit
Deal damage only after the boss commits
If you see
The boss has already entered a charge, summon, projectile, or phase animation that cannot instantly redirect.
Do this
Bow, Spear, Shield, Athena Dash, and Cast damage help keep space when the room tightens.
03 · Avoid
Attach the failure to one move
If you see
You keep getting close, or the same phase keeps taking Death Defiance.
Do this
Projectiles and dash lines are readable if you stop trying to force melee uptime.
04 · Pivot
If the wall remains, change the route instead of ramming it
If you see
You can read the fight, but damage, safety, or weapon rhythm still falls short.
Do this
Ranged damage and Casts are excellent because they preserve movement space.
Do not
Do not trade every safety tool for a little more damage unless the punish window is already clean.
Next: Hades Beginner Guide: First Clear RouteBuild Synergy Board
Connect this page to a full route
Readers often leave when the page does not answer what to pair next. This board connects the advice to gods, keepsakes, weapons, resources, and the next guide.
Safe opener
Learn Tisiphone with defensive tools first
Pair with
The Furies
A boss page should identify the source of death before chasing damage. Add forgiveness, read the tell, then decide whether the run can become greedier.
Page check
Tisiphone is a patience test disguised as chaos. Her room pressure makes long combos unsafe and punishes players who spend every dash immediately. The safest route is to play near an exit lane, use brief damage windows, and reset before the arena closes around you.
Damage plan
Fit one main damage button into punish windows
Pair with
Megaera
Boss damage is not just more numbers. The build has to place damage inside safe windows, so boons and hammers should serve one clear button.
Page check
Bow, Spear, Shield, Athena Dash, and Cast damage help keep space when the room tightens.
Recovery
If the wall remains, fix the next route layer
Pair with
Alecto
Once the pattern is readable, repeated losses usually point to health, damage shape, keepsake order, or Mirror configuration.
Page check
Crossing the room without a lane because the boss looks close to death.
Route Data Table
Turn Tisiphone into a boss-fight checklist
This table keeps the lore, pattern read, build connection, and failure review on one screen so the player knows what to watch before entering the arena.
Table use
Read the phase first, then execute only one best response.
| Phase | What changes | Best response | Punish cue |
|---|---|---|---|
| Opening read | Tisiphone is a patience test disguised as chaos. Her room pressure makes long combos unsafe and punishes players who spend every dash immediately. The safest route is to play near an exit lane, use brief damage windows, and reset before the arena closes around you. | The shrinking feel of the fight makes over-dashing worse than under-attacking. | Crossing the room without a lane because the boss looks close to death. |
| Damage window | Do not dash because you are scared. Dash because you have selected the next safe tile. This distinction matters more against Tisiphone than against the other Furies. | Bow, Spear, Shield, Athena Dash, and Cast damage help keep space when the room tightens. | If damage still feels low, open The Furies. |
| Recovery route | Use this page as a quick decision aid before the next chamber or boss attempt. First identify the immediate problem, then pick the recommendation that solves that problem with the least extra execution. If the page is about a weapon or resource, treat it as a route choice rather than a trivia entry: the goal is a more stable run, not just knowing the item exists. | Ranged damage and Casts are excellent because they preserve movement space. | Using every dash to attack and having none left for the next warning. |
People Also Ask
Tisiphone FAQ
These answers are for search visitors and stuck players: resolve the most common decisions first, then continue into the deeper breakdown.
Q1What is the safest way to beat Tisiphone?
+
Make smaller decisions. Use short attacks, hold one dash for escape, and do not cross the room unless a clear lane exists. Treat the fight as a pattern read before treating it as a damage race. The shrinking feel of the fight makes over-dashing worse than under-attacking.
Q2What danger signal should I watch first against Tisiphone?
+
Tisiphone is a patience test disguised as chaos. Her room pressure makes long combos unsafe and punishes players who spend every dash immediately. The safest route is to play near an exit lane, use brief damage windows, and reset before the arena closes around you. If the tell is not readable yet, preserve health with spacing and dash discipline before taking punish windows.
Q3What build style works best for Tisiphone?
+
Bow, Spear, Shield, Athena Dash, and Cast damage help keep space when the room tightens. Prefer a route that can place reliable damage into short punish windows instead of one that needs long stationary strings.
Q4Why do I keep losing to Tisiphone?
+
Crossing the room without a lane because the boss looks close to death. Review only one variable at a time: positioning, keepsake order, main damage button, or defensive tool.
Best Picks Breakdown
Actionable notes by section
Entry 1
Fight identity
Tisiphone is a patience test disguised as chaos. Her room pressure makes long combos unsafe and punishes players who spend every dash immediately. The safest route is to play near an exit lane, use brief damage windows, and reset before the arena closes around you.
Visual Note
Opening arena
Begin by mapping escape lanes, not by chasing immediate melee damage.
Entry 2
Movement rule
Do not dash because you are scared. Dash because you have selected the next safe tile. This distinction matters more against Tisiphone than against the other Furies.
Visual Note
Compressed room
As the room feels tighter, shorter attacks become safer than full strings.
Entry 3
How to use this page in a run
Use this page as a quick decision aid before the next chamber or boss attempt. First identify the immediate problem, then pick the recommendation that solves that problem with the least extra execution. If the page is about a weapon or resource, treat it as a route choice rather than a trivia entry: the goal is a more stable run, not just knowing the item exists.
- If survival is the problem, choose safety before damage.
- If the run lacks direction, choose one primary button or resource goal.
Visual Note
Dash-line read
Move across attack lanes and keep one dash available for the next pattern.