Use Matrix
Pick the usable route
Use this as a quick navigation board: scan each fight or build decision, then jump to the full breakdown and source frames below.
What Conch Shell gives you
A Poseidon start gives the run space. Enemies get pushed away, dash routes become safer, and crowded chambers can be shaped before they become dangerous. This is valuable for players who lose health to contact damage or chaos in small rooms. The tradeoff is that Poseidon does not automatically solve boss health bars without support.
When to swap away
If Conch Shell finds Tidal Dash or a useful knockback slot early, consider swapping into damage, safety, or a Duo target for Asphodel and Elysium. Holding it too long can over-invest in room control while the run still lacks focused boss damage.
How to use this page in a run
Use this page as a quick decision aid before the next chamber or boss attempt. First identify the immediate problem, then pick the recommendation that solves that problem with the least extra execution. If the page is about a weapon or resource, treat it as a route choice rather than a trivia entry: the goal is a more stable run, not just knowing the item exists.
Quick Verdict
Equip Conch Shell when Tidal Dash or knockback support is part of the route. It is excellent for room control, but boss damage still needs a clear scaling plan.
Strong opener for Tidal Dash and knockback chamber control.
Wall-slam support is best when the arena layout helps trigger it.
Needs a separate boss plan if knockback cannot carry the fight.
Pre-Run Checklist
How to test Conch Shell in the next run
Use Poseidon to create exits, wall impacts, and safer chamber lines.
Open
Confirm whether Conch Shell fits this route segment
Strong opener for Tidal Dash and knockback chamber control.
Check
What Conch Shell gives you
Swap
Re-check the next biome before swapping
Use when your build wants safe movement, Styx room control, or a Poseidon Duo route.
Check
Next read: Poseidon Boons Guide
Cost
Do not pay opportunity cost for a mismatched reward
Letting room-control success hide the fact that bosses are dying too slowly.
Check
Next read: Hades Boon and Build Planning Guide
Player Intent Router
Choose the section that matches your current wall
High-retention guide pages do not force every player to read linearly. They help the player name the problem, act on it, then continue into the next useful page.
01 · Opening pick
You are deciding whether to start with Conch Shell
A keepsake is a route switch, not permanent equipment. First identify whether it solves god targeting, survival, economy, boss protection, or late utility.
Page action
Strong opener for Tidal Dash and knockback chamber control.
02 · Biome swap
You cleared a biome and can change keepsakes
Do not keep the same keepsake by habit. Ask whether the next stretch threatens normal rooms, the boss, resources, or a missing core boon.
Page action
Use when your build wants safe movement, Styx room control, or a Poseidon Duo route.
03 · Trap check
The keepsake looks strong, but may not fit this route
Many keepsakes are powerful only inside a matching plan. Use the mistake notes to spot when the reward is not worth the opportunity cost.
Page action
Letting room-control success hide the fact that bosses are dying too slowly.
Keepsake Route Check
Do not treat the keepsake as permanent gear
This keepsake currently reads as a god tool. The question is not whether it is good in isolation, but whether it solves the most expensive problem in this run.
Use these three checks to decide whether to equip it, when to swap away, and what stronger alternative it may be crowding out.
01 · Equip window
When Conch Shell belongs in the run
Equip it at the start when the weapon needs a specific god to define the build. The keepsake is doing route control, not just rarity hunting.
Page evidence
Strong opener for Tidal Dash and knockback chamber control.
02 · Swap point
When to move off it
Swap once the key god has entered the pool and the core boon slot is solved. Later biomes often want survival, money, Pom pressure, or boss insurance instead.
Page evidence
Wall-slam support is best when the arena layout helps trigger it.
03 · Opportunity cost
What this keepsake replaces
The cost is flexibility. Forcing one god makes the run less random, but it can also crowd the pool if the weapon has not chosen a main damage button.
Page evidence
Needs a separate boss plan if knockback cannot carry the fight.
Field Guide
How to use this page
Conch Shell should not be treated as a trivia entry. Use it as a route decision before the next run: identify the current wall, then choose the lowest-execution answer that solves that wall.
If the problem is survival, prioritize safer spacing, keepsakes, Mirror choices, or weapon rhythm. If the problem is damage, identify which button carries the build. If the problem is resources, spend on upgrades that improve several future runs instead of only the current attempt.
Screenshots and video references are support material: they help you read tells, spacing, reward locations, or build direction. The written conclusions are the part to carry into the run.
Before entry
Use this Keepsake page to name the real job first: survival, damage, resources, or route clarity. A specific job keeps the run from being pulled off course by rarity, flashy clips, or tempting side rewards.
During the fight
Compress the advice into one action rule: wait for the tell, preserve spacing, clear adds first, take the core boon, or leave before greed damage begins. Good guidance should survive a messy screen.
After failure
Do not only ask whether the damage was high enough. Ask where health started disappearing, which reward did not serve the route, and whether the next run needs a different keepsake, Mirror setup, aspect, or starting god.
After reading Conch Shell, do not jump straight to an unrelated entry. Test the advice in one run by changing a single variable: starting keepsake, primary damage button, boss phase plan, resource spending order, or the positioning shown in the reference frames. That makes the next review cleaner because you can tell which change actually improved the route.
If you only remember one rule: Conch Shell is useful because it reduces hesitation in the next run. Anything that helps you decide when to attack, retreat, reroute, or preserve resources is what actually improves clear consistency.
A database page works best when it turns small decisions into a stable route. Read this page, follow the related entries, then test the idea in one escape attempt so the guide becomes practice rather than trivia.
Takeaways
- 01
Strong opener for Tidal Dash and knockback chamber control.
- 02
Wall-slam support is best when the arena layout helps trigger it.
- 03
Needs a separate boss plan if knockback cannot carry the fight.
Strategy Path
What to read next
Do not leave Conch Shell as an isolated note. Follow the route below to turn one useful answer into a complete escape plan.
01 · Build the route
Poseidon Boons Guide
After Conch Shell, use Poseidon Boons Guide to check the next decision layer: Poseidon is strongest when knockback creates space and adds damage at the same time. Tidal Dash can make rooms safer, wall-slam bonuses can delete crowded chambers, and his utility rewards players who understand where enemies will land after the hit.
02 · Build the route
Hades Boon and Build Planning Guide
After Conch Shell, use Hades Boon and Build Planning Guide to check the next decision layer: A good Hades build starts by deciding which button deals damage. Then you pick gods that scale that button, use keepsakes to control the first god, and avoid taking shiny boons that do not help the run’s core job.
03 · Build the route
Hades Resource Farming Priority
After Conch Shell, use Hades Resource Farming Priority to check the next decision layer: Spend early resources on survival and options first: Mirror upgrades, weapon unlocks, key keepsakes, and contractor quality-of-life. Save rare boss currencies for upgrades that match weapons you actually play.
04 · Plan upgrades
Nectar
After Conch Shell, use Nectar to check the next decision layer: Give early Nectar to characters whose keepsakes solve immediate problems: Skelly for survival, Cerberus for health, and Olympian gods for boon targeting.
Change one variable at a time along this path: setup first, boon route second, boss phase handling last. That makes it easier to tell which adjustment actually improved consistency.
Run Study Board
Turn the guide into one playable review loop
This page compresses 3 source references and gameplay frames into three steps: watch, apply, and review.
01 · WatchRead the danger in the frame first
A Poseidon start gives the run space. Enemies get pushed away, dash routes become safer, and crowded chambers can be shaped before they become dangerous. This is valuable for players who lose health to contact damage or chaos in small rooms. The tradeoff is that Poseidon does not automatically solve boss health bars without support.
Frame action
Conch Shell works when knockback has a job beyond visual noise.
02 · ApplyTurn the advice into one next-run change
Use when your build wants safe movement, Styx room control, or a Poseidon Duo route.
Frame action
Strong opener for Tidal Dash and knockback chamber control.
03 · ReviewReview the most expensive repeated mistake
Letting room-control success hide the fact that bosses are dying too slowly.
Frame action
Keepsake pages are stronger when readers can see the item as a route switch, not permanent equipment.
Tactical Drill Table
Convert Conch Shell into four playable checks
This is not an encyclopedia summary. It is a next-run drill card: what to look for, what to do, what to avoid, and which page should fill the next gap.
01 · Observe
Decide whether Conch Shell is an opener, swap, or insurance
If you see
The keepsake looks good, but you cannot name which part of the route it solves.
Do this
Strong opener for Tidal Dash and knockback chamber control.
02 · Commit
Equip it only when the payoff window is real
If you see
A Poseidon start gives the run space. Enemies get pushed away, dash routes become safer, and crowded chambers can be shaped before they become dangerous. This is valuable for players who lose health to contact damage or chaos in small rooms. The tradeoff is that Poseidon does not automatically solve boss health bars without support.
Do this
Use when your build wants safe movement, Styx room control, or a Poseidon Duo route.
Do not
Letting room-control success hide the fact that bosses are dying too slowly.
Next: Hades Boon and Build Planning Guide03 · Avoid
Check what stronger tool it crowds out
If you see
The build lacks a core boon, health is low, or the next boss threat is more direct.
Do this
Wall-slam support is best when the arena layout helps trigger it.
Do not
Do not pay opportunity cost for an effect that does not solve the current problem.
Next: Hades Resource Farming Priority04 · Pivot
Re-plan after each biome
If you see
The biome ended and the next stretch asks a different question.
Do this
Needs a separate boss plan if knockback cannot carry the fight.
Build Synergy Board
Connect this page to a full route
Readers often leave when the page does not answer what to pair next. This board connects the advice to gods, keepsakes, weapons, resources, and the next guide.
Opening route
Decide whether Conch Shell belongs in chamber one
Pair with
Poseidon Boons Guide
A keepsake is a routing switch. It should start a god plan, add survival, create economy, or stabilize a known danger.
Page check
Strong opener for Tidal Dash and knockback chamber control.
Biome swap
Compare value again after each biome
Pair with
Hades Boon and Build Planning Guide
Tartarus, Asphodel, Elysium, and Styx ask different questions. The best previous answer may become the wrong next answer.
Page check
Use when your build wants safe movement, Styx room control, or a Poseidon Duo route.
Opportunity cost
Make sure it is not crowding out a more urgent tool
Pair with
Hades Resource Farming Priority
A strong keepsake is not automatically correct. It has to solve the most expensive problem in this specific run.
Page check
Letting room-control success hide the fact that bosses are dying too slowly.
Route Data Table
Decide where Conch Shell belongs in the route
A keepsake is a routing switch, not decoration. The table separates chamber-one value, biome swaps, and opportunity cost so players do not use a good keepsake at the wrong time.
Table use
Re-check this after each biome instead of assuming the previous answer still fits.
| Timing | Equip reason | Swap trigger | Cost |
|---|---|---|---|
| Tartarus opener | Strong opener for Tidal Dash and knockback chamber control. | A Poseidon start gives the run space. Enemies get pushed away, dash routes become safer, and crowded chambers can be shaped before they become dangerous. This is valuable for players who lose health to contact damage or chaos in small rooms. The tradeoff is that Poseidon does not automatically solve boss health bars without support. | Letting room-control success hide the fact that bosses are dying too slowly. |
| Biome swap | Use when your build wants safe movement, Styx room control, or a Poseidon Duo route. | If Conch Shell finds Tidal Dash or a useful knockback slot early, consider swapping into damage, safety, or a Duo target for Asphodel and Elysium. Holding it too long can over-invest in room control while the run still lacks focused boss damage. | Taking knockback on a button that your weapon barely uses. |
| Late-run slot | Poseidon Boons Guide | Needs a separate boss plan if knockback cannot carry the fight. | Do not keep forcing the same problem without a review signal. |
People Also Ask
Conch Shell FAQ
These answers are for search visitors and stuck players: resolve the most common decisions first, then continue into the deeper breakdown.
Q1Should I equip Conch Shell at the start of a run?
+
Equip Conch Shell when Tidal Dash or knockback support is part of the route. It is excellent for room control, but boss damage still needs a clear scaling plan. Equip it early only when it solves the first routing problem in the run; otherwise compare it again after the biome.
Q2When should I swap away from Conch Shell?
+
A Poseidon start gives the run space. Enemies get pushed away, dash routes become safer, and crowded chambers can be shaped before they become dangerous. This is valuable for players who lose health to contact damage or chaos in small rooms. The tradeoff is that Poseidon does not automatically solve boss health bars without support. After each biome, re-check the next danger source instead of assuming the previous answer still fits.
Q3How do I choose between Conch Shell and another keepsake?
+
Use when your build wants safe movement, Styx room control, or a Poseidon Duo route. The right keepsake is not the strongest in a vacuum; it is the one that solves the most expensive problem in this run.
Q4What mistake makes Conch Shell weaker than it should be?
+
Letting room-control success hide the fact that bosses are dying too slowly. Taking knockback on a button that your weapon barely uses.
Best Picks Breakdown
Actionable notes by section
Entry 1
What Conch Shell gives you
A Poseidon start gives the run space. Enemies get pushed away, dash routes become safer, and crowded chambers can be shaped before they become dangerous. This is valuable for players who lose health to contact damage or chaos in small rooms. The tradeoff is that Poseidon does not automatically solve boss health bars without support.
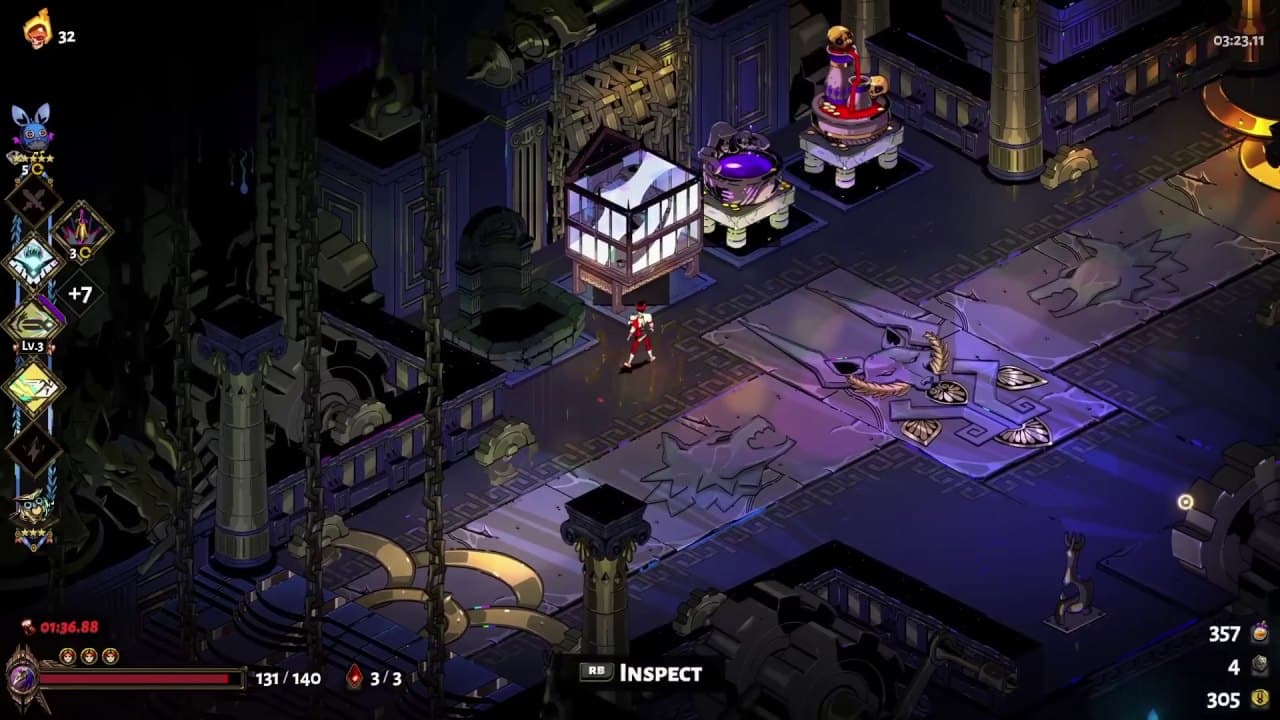
Visual Note
Poseidon route
Conch Shell works when knockback has a job beyond visual noise.
Entry 2
When to swap away
If Conch Shell finds Tidal Dash or a useful knockback slot early, consider swapping into damage, safety, or a Duo target for Asphodel and Elysium. Holding it too long can over-invest in room control while the run still lacks focused boss damage.
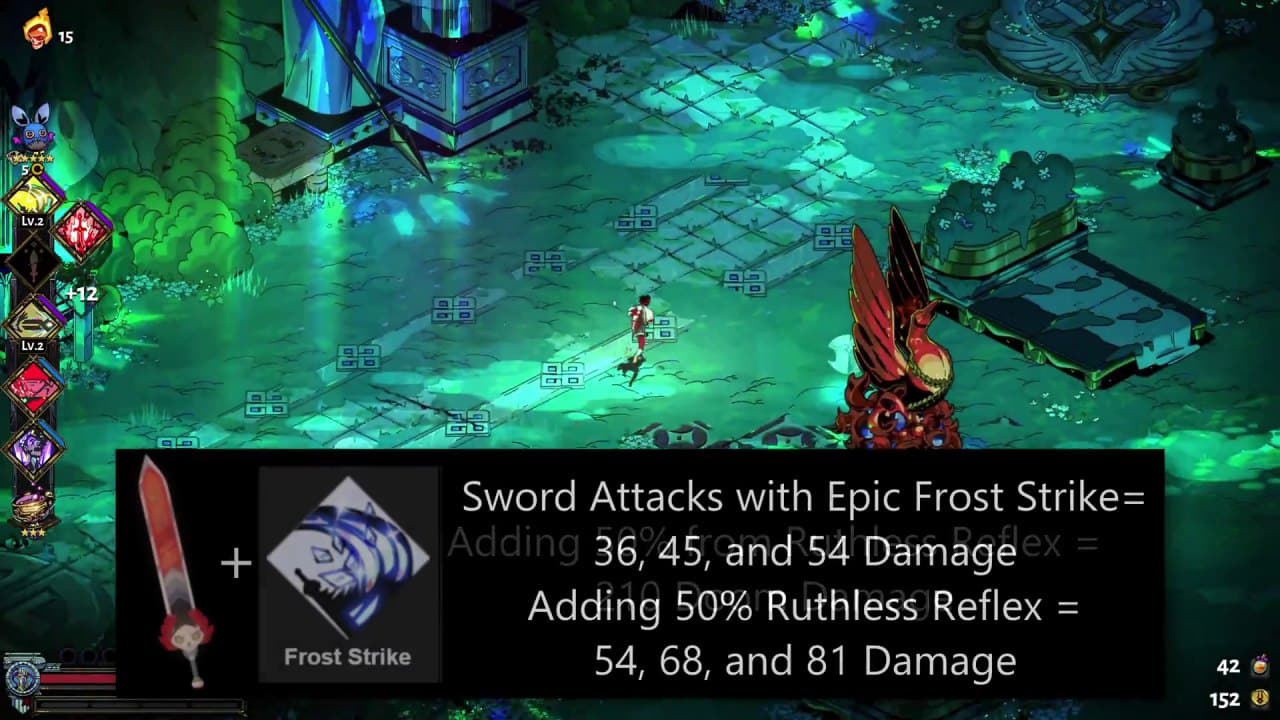
Visual Note
Room-control reference
Use Poseidon to create exits, wall impacts, and safer chamber lines.
Entry 3
How to use this page in a run
Use this page as a quick decision aid before the next chamber or boss attempt. First identify the immediate problem, then pick the recommendation that solves that problem with the least extra execution. If the page is about a weapon or resource, treat it as a route choice rather than a trivia entry: the goal is a more stable run, not just knowing the item exists.
- If survival is the problem, choose safety before damage.
- If the run lacks direction, choose one primary button or resource goal.
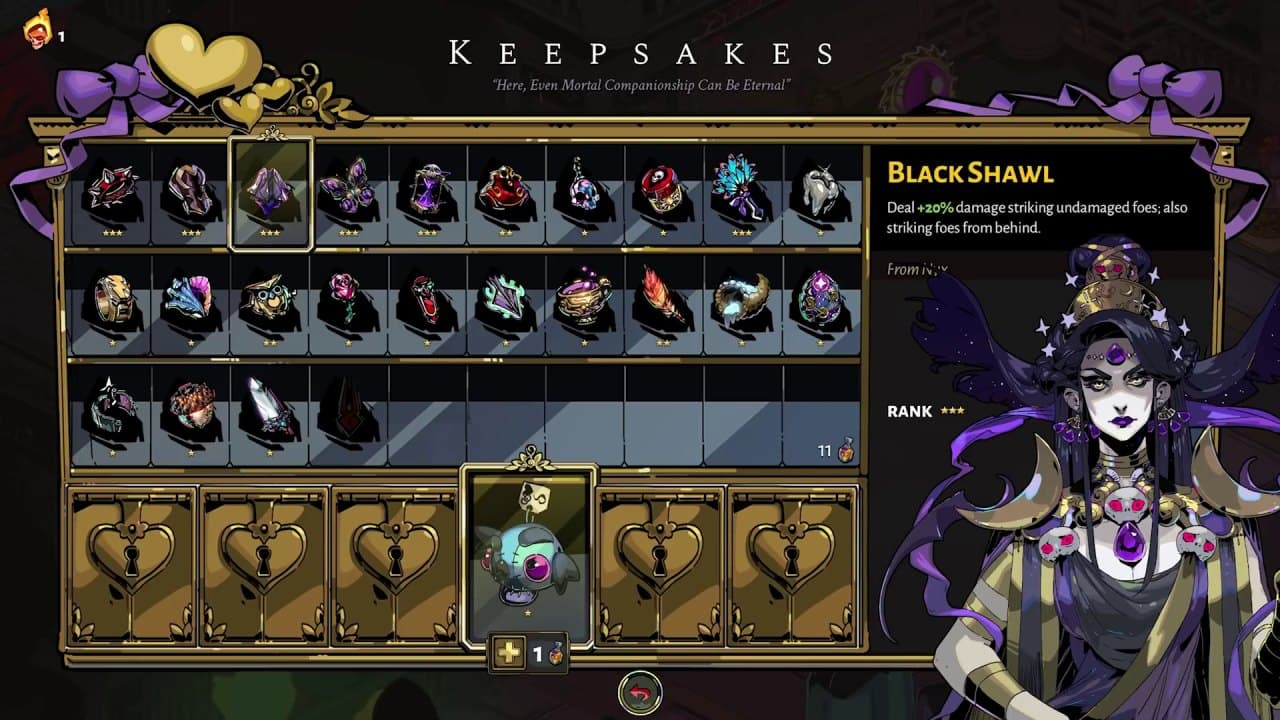
Visual Note
Keepsake routing reference
Keepsake pages are stronger when readers can see the item as a route switch, not permanent equipment.